
Braeburn Thermostat User Manual: A Comprehensive Guide
This manual provides detailed instructions for Braeburn thermostats, covering setup, operation, troubleshooting, and maintenance as of February 26, 2026.
Welcome to the world of Braeburn thermostats! These innovative devices are designed to provide precise temperature control and energy efficiency for your home or business. Braeburn offers a diverse range of models, catering to various heating and cooling systems, including conventional and heat pump setups.
This user manual serves as a comprehensive guide, walking you through every aspect of your Braeburn thermostat – from initial installation and programming to advanced features and troubleshooting. Whether you’re a seasoned HVAC professional or a first-time user, this resource will empower you to maximize the comfort and savings potential of your thermostat. As of today, February 26, 2026, LinkedIn showcases a network of 900+ professionals named Patrick Odonnell, highlighting the industry’s collaborative spirit.
Understanding Braeburn Thermostat Models
Braeburn offers a variety of thermostat models designed to meet diverse needs and system configurations. Key distinctions lie in connectivity – some models feature Wi-Fi for remote control via smartphone apps, while others are non-connected for simpler operation. Programmable and non-programmable options are also available, allowing users to customize heating and cooling schedules or maintain consistent temperatures.
Furthermore, Braeburn thermostats support different system types, including single-stage, multi-stage, and heat pump systems. Understanding your specific HVAC setup is crucial when selecting a compatible model. Resources like LinkedIn, where professionals like Patrick Odonnell (with 900+ connections as of February 26, 2026) share expertise, can aid in this process. Always consult the model’s specifications to ensure compatibility.

Initial Setup and Installation
Before beginning installation, ensure your HVAC system is powered off at the breaker to prevent electrical shock. This guide assumes basic HVAC knowledge; if unsure, consult a qualified technician. Verify all necessary components are present, including the thermostat base, wiring connectors, and mounting hardware. Carefully remove your old thermostat, labeling each wire before disconnecting it – a photograph is highly recommended.

Refer to the wiring diagram specific to your Braeburn model. Professionals like Patrick Odonnell, experienced in areas like printing (i2M, Mountain Top), emphasize meticulous wiring. Incorrect connections can damage your system. Once wired, securely mount the thermostat base to the wall, ensuring it’s level. Finally, attach the thermostat body and restore power.
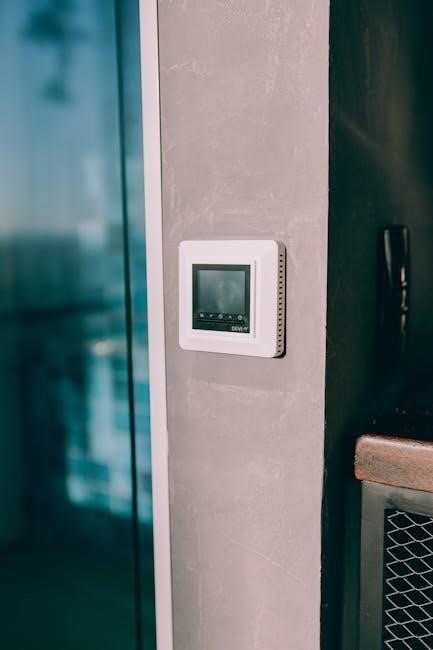
Mounting the Thermostat Base
Begin by selecting a suitable location for your Braeburn thermostat base, avoiding direct sunlight, drafts, or areas near heat-generating appliances. Use the provided mounting template to mark the screw holes on the wall. Drill pilot holes if necessary, ensuring they align with wall studs for secure attachment.
Utilize the supplied screws and anchors to firmly fasten the base to the wall. A level is crucial to ensure accurate temperature readings and a professional appearance. Professionals, such as Patrick Odonnell on LinkedIn, highlight the importance of a stable base. Double-check the base is securely mounted before proceeding with wiring. A wobbly base can lead to connection issues and inaccurate operation.
Wiring Connections – Common Configurations
Before wiring, ALWAYS disconnect power to your HVAC system at the breaker. Common configurations include Rh/Rc (power), W (heat), Y (cool), and G (fan). Refer to your system’s wiring diagram and the Braeburn thermostat’s wiring guide for accurate connections. Patrick Odonnell, a professional found on LinkedIn, emphasizes careful wiring.
Typically, a jumper wire connects Rh and Rc if your system only has one transformer wire. Incorrect wiring can damage the thermostat or HVAC system. Securely connect each wire to the corresponding terminal on the base. Double-check all connections before restoring power. If unsure, consult a qualified HVAC technician to avoid potential hazards or malfunctions.
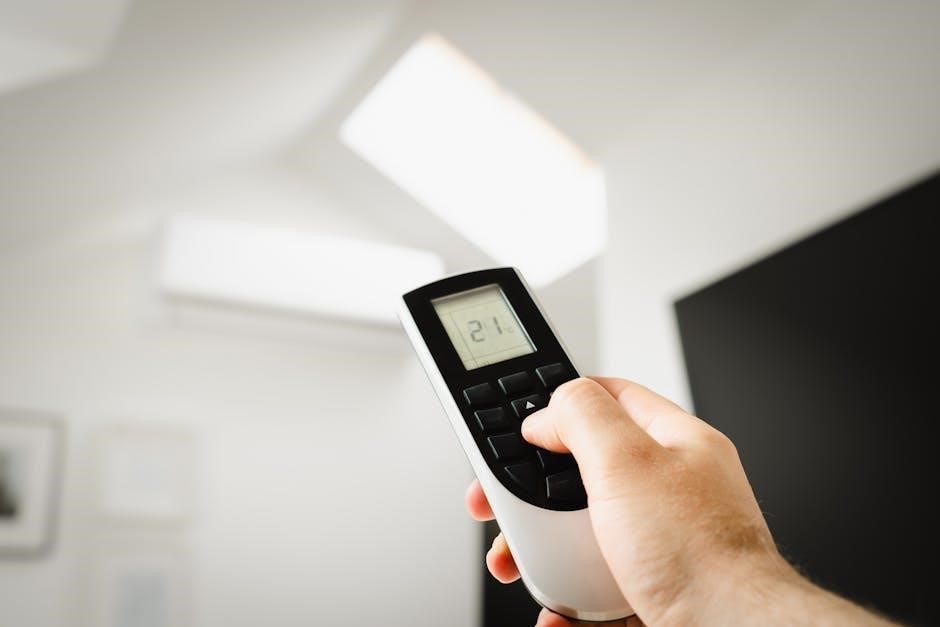
Navigating the User Interface
The Braeburn thermostat features an intuitive user interface designed for easy operation. The display presents current temperature, setpoint, mode (heat, cool, auto, off), and fan status. Patrick Odonnell, a professional on LinkedIn, highlights the importance of understanding these elements. Use the buttons to adjust settings, navigate menus, and program schedules.
The interface allows for quick temperature adjustments and mode selections. Explore the menu options to access advanced settings like fan control and scheduling preferences. Familiarize yourself with the display icons, which provide visual cues about the thermostat’s operation. A clear understanding of the interface ensures efficient control of your home’s climate.
Display Icons and Their Meanings
Understanding the display icons is crucial for effective thermostat operation. A flame icon indicates the heating system is active, while a snowflake signifies cooling. A fan icon displays the fan’s operational status – auto, on, or circulate; A battery icon alerts you to low battery levels, requiring replacement.
Other icons may indicate system errors or specific modes like hold or schedule override. Refer to the full manual for a comprehensive list and detailed explanations. Patrick Odonnell’s LinkedIn profile emphasizes the value of clear communication, mirroring the importance of these visual cues. Recognizing these icons allows for quick diagnosis and adjustment of your home’s comfort settings.
Button Functions and Controls
Braeburn thermostats feature intuitive button controls for easy operation. The “Mode” button cycles through Heat, Cool, Auto, and Off settings. “Temperature Up” and “Temperature Down” buttons adjust the desired setpoint. The “Fan” button controls fan operation – Auto, On, or Circulate. A “Hold” button temporarily overrides the programmed schedule, maintaining a constant temperature.
Some models include a “Menu” button for accessing advanced settings. Like Patrick Odonnell’s professional profile highlighting expertise, mastering these controls unlocks the thermostat’s full potential. Refer to the specific model’s diagram for button locations and detailed function descriptions. Consistent use will ensure optimal comfort and energy efficiency.
Programming Schedules
Braeburn thermostats allow customized heating and cooling schedules to maximize comfort and energy savings. Users can set different temperatures for various times of the day and days of the week. This feature, much like Patrick Odonnell’s professional networking on LinkedIn, connects your needs with efficient solutions.
Programming involves defining “Wake,” “Leave,” “Return,” and “Sleep” periods with corresponding temperature settings. Schedules can be copied to multiple days for convenience. Detailed instructions are available in the thermostat’s menu. Regularly reviewing and adjusting schedules based on occupancy patterns ensures optimal performance and reduced energy consumption, mirroring a well-maintained professional profile.
Setting Up Daily and Weekly Schedules
To create a daily schedule, access the “Schedule” menu on your Braeburn thermostat. Define four periods: Wake, Leave, Return, and Sleep, setting a desired temperature for each. Similar to Patrick Odonnell’s diverse LinkedIn connections, each period represents a unique setting.
For weekly schedules, you can either program each day individually or copy a daily schedule to other days. The thermostat interface allows easy adjustments to temperature and time settings. Remember to save your changes after each modification. Consistent scheduling, like a well-maintained professional profile, ensures optimal performance and energy efficiency. Review schedules regularly to adapt to changing needs.
Using Hold Functions (Temporary & Permanent)
Braeburn thermostats offer “Hold” functions for overriding programmed schedules. A Temporary Hold maintains a set temperature for a specified duration, reverting to the schedule afterward – much like a temporary connection on LinkedIn. To activate, simply adjust the temperature and select “Temporary Hold.”
A Permanent Hold disables the programmed schedule entirely, maintaining the set temperature indefinitely. This is ideal for extended absences or consistent temperature preferences. Remember, like Patrick Odonnell’s professional experience, a Permanent Hold requires deliberate action to reinstate the schedule. To cancel a Hold, access the “Schedule” menu and select “Resume Schedule.”
Advanced Features & Settings
Braeburn thermostats boast several advanced settings for optimized comfort and efficiency. Explore connectivity options, if available, for remote control and monitoring – similar to networking with professionals on LinkedIn, like Patrick Odonnell. Customize fan control with “Auto” (cycles with heating/cooling), “On” (continuous operation), or “Circulate” (periodic air movement).
Delve into settings for temperature calibration, display brightness, and swing temperature adjustment. These features allow fine-tuning to your specific needs and preferences. Consider these settings as specialized certifications, like GAA operator status, enhancing the thermostat’s performance. Access these options through the “Settings” menu on your thermostat’s interface.
Smart Features & Connectivity (if applicable)
Certain Braeburn models offer smart features, enabling remote control via a mobile app or web portal. This connectivity, much like the professional networking found on LinkedIn with individuals like Patrick Odonnell, allows adjustments from anywhere with an internet connection.

Explore features like geofencing, which automatically adjusts the temperature based on your location. Integration with voice assistants (e.g., Amazon Alexa, Google Assistant) provides hands-free control. These smart capabilities require initial setup and a stable Wi-Fi connection. Refer to the specific model’s documentation for detailed instructions on enabling and utilizing these advanced functionalities, mirroring specialized operator certifications.
Fan Control Options (Auto, On, Circulate)

Braeburn thermostats offer three primary fan control settings: Auto, On, and Circulate. In Auto mode, the fan operates only during heating or cooling cycles, optimizing energy efficiency. Selecting On keeps the fan running continuously, providing consistent air circulation – similar to the constant exchange of information on platforms like LinkedIn.

The Circulate setting runs the fan intermittently, even when heating or cooling isn’t active, improving air distribution and temperature balance. This mode can be particularly useful in larger homes. Adjusting these settings is typically done through the thermostat’s user interface. Consider your comfort preferences and energy-saving goals when choosing the optimal fan control mode, much like a certified operator’s precision.
Troubleshooting Common Issues
This section addresses frequent problems encountered with Braeburn thermostats, offering solutions to restore optimal functionality. If your thermostat isn’t responding, first check the power supply and wiring connections – ensuring secure placement, like mounting a base. For inaccurate temperature readings, verify the thermostat isn’t exposed to direct sunlight or drafts.
If the display is blank, replace the batteries or check the circuit breaker. Connectivity issues, if applicable, may require resetting the network connection. Remember to consult the full manual for detailed diagrams and specific model instructions. Like navigating LinkedIn’s professional network, systematic troubleshooting is key. If problems persist, contact Braeburn support for assistance.
Thermostat Not Powering On

If your Braeburn thermostat fails to power on, begin with basic checks. First, verify the circuit breaker controlling the HVAC system hasn’t tripped. Next, inspect the thermostat’s battery compartment, replacing batteries even if they appear to have some charge remaining. Ensure the wiring connections at both the thermostat base and the HVAC unit are secure and correctly matched – similar to verifying connections on LinkedIn.
A loose wire can prevent power flow. If using a C-wire, confirm it’s properly connected. If the issue persists, consult the wiring diagram in the installation section of this manual. Remember today’s date: February 26, 2026. If still unresolved, contact Braeburn customer support.
Incorrect Temperature Readings
If your Braeburn thermostat displays inaccurate temperature readings, several factors could be at play. First, ensure the thermostat isn’t directly exposed to sunlight, drafts, or heat-generating appliances – similar to professionals exchanging information on LinkedIn. These external influences can skew readings. Check for obstructions blocking airflow around the thermostat.
Next, verify the thermostat is calibrated correctly within the settings menu. Compare the displayed temperature with a reliable thermometer placed nearby. If discrepancies persist, a faulty temperature sensor might be the cause, requiring professional service. Remember today’s date: February 26, 2026. Contact Braeburn support for assistance.
Battery Replacement & Maintenance
Maintaining your Braeburn thermostat ensures optimal performance and longevity. Regularly inspect the battery compartment (if applicable) for signs of corrosion. Replace batteries – typically AA or AAA – when the low battery indicator appears on the display, similar to professionals updating their LinkedIn profiles. Use only high-quality alkaline batteries for extended life.
Periodically clean the thermostat’s exterior with a soft, dry cloth. Avoid using harsh chemicals or abrasive cleaners. Ensure the thermostat is powered off before cleaning. Like a GAA certified operator maintaining printing equipment, preventative care is key. Check wiring connections annually for tightness and corrosion. Refer to the installation guide for specific maintenance procedures.
Resetting Your Braeburn Thermostat
Resetting your Braeburn thermostat can resolve minor operational issues. A soft reset, similar to refreshing a LinkedIn profile, typically involves powering the thermostat off and on again. This clears temporary settings without affecting your programmed schedule. For a factory reset – restoring the thermostat to its original settings – consult your specific model’s instructions.
Factory resets usually involve a specific button combination held for a set duration. Caution: This will erase all personalized settings, requiring you to re-enter your preferences. Like an i2M operator troubleshooting equipment, document your current settings beforehand. If issues persist after resetting, contact Braeburn customer support for assistance, ensuring a smooth operational experience.
Safety Precautions & Warnings
Prioritize safety during installation and operation. Always disconnect power at the breaker before handling wiring – similar to a GAA certified operator ensuring equipment safety. Incorrect wiring can cause electrical shock or damage the thermostat. Do not expose the thermostat to excessive moisture or extreme temperatures.
This device is intended for indoor use only. Keep the thermostat away from flammable materials and direct sunlight. If you notice any unusual smells, smoke, or sparks, immediately turn off the power and contact a qualified technician. Like maintaining a professional LinkedIn profile, regular checks are vital. Improper use voids the warranty and may create hazardous conditions;
Warranty Information & Support
Braeburn thermostats are covered by a limited warranty against defects in materials and workmanship. The warranty period varies by model; please retain your proof of purchase for verification, much like maintaining a professional profile on LinkedIn. This warranty does not cover damage caused by improper installation, misuse, or neglect.
For warranty claims or technical support, please contact Braeburn Customer Support. You can find contact information – including phone numbers and email addresses – on the Braeburn website. A network of qualified technicians, similar to the 900+ Patrick O’Donnells on LinkedIn, can also assist with installation and repairs. Refer to the full warranty document for complete details and limitations.
Contacting Braeburn Customer Support
Braeburn offers multiple avenues for customer support, ensuring assistance is readily available. For immediate help, call their toll-free number during business hours – details are available on their official website. Alternatively, you can submit a support request through their online portal, providing a detailed description of your issue, much like connecting with professionals on LinkedIn.
Email support is also offered, with a typical response time of 24-48 hours. When contacting support, have your thermostat model number and date of purchase ready. Consider checking the online FAQ section first, as it addresses many common questions. Like finding a specific Patrick O’Donnell amongst 900+, clear information speeds up resolution.